
Camping Power Setup: Power Station + Solar Panel Combos That Work
A lot of camping power advice stops at “get a power station and a solar panel” without ever pairing them properly. A mismatched combo — a big battery with a tiny panel, or a big panel overwhelming a small charge controller — leaves you either waiting forever to recharge or wasting money on solar capacity you can’t actually use. Here’s how to actually pair a power station solar panel camping setup that works.
This article may include affiliate links — if you buy through them we may earn a small commission at no extra cost to you, but our recommendations are based on our own independent research.
Combo 1: Weekend Solo/Couple Trip
A 300-500Wh station paired with a 100W folding panel. This covers phones, lighting, and light electronics with a realistic same-day top-up in decent sun. It’s a setup well-suited to most casual weekend campers — small, light, and genuinely sufficient for the actual draw involved.
Combo 2: Fridge-Inclusive Multi-Day Trip
A 1,000Wh station paired with a 200W panel. This is the combo that actually keeps pace with a 12V camping fridge’s daily draw (roughly 300-500Wh/day) rather than slowly draining across the trip. My take: this is the most common under-provisioned setup I see — people buy the 1,000Wh station but stick with a 100W panel, which can’t keep up with a fridge’s daily usage, so they end up recharging via car or generator anyway.
Combo 3: Group Camping / Extended Off-Grid
A 2,000Wh+ expandable station paired with 400W or more of panels (two 200W panels rather than one large one, for easier angling and packing). This handles multiple devices, a fridge, and some lighting infrastructure across a bigger group or a longer stay without constant battery anxiety.
Charge Controllers and Why They Matter
Most modern power stations have a built-in MPPT (maximum power point tracking) charge controller specifically designed for their solar input, which is why you generally don’t need a separate controller when pairing the manufacturer’s own panels or a compatible third-party panel with the correct connector and voltage range. Where this gets tricky is mixing brands — plugging a mismatched panel voltage into a station’s solar input can undercharge or, in worse cases, damage the controller. My take: if you’re buying panel and station separately from different brands, double-check the voltage and connector compatibility before you’re standing at a campsite with a panel that won’t talk to your battery.
Seasonal Adjustments: Summer vs Winter Solar Output
The same panel setup that comfortably covers your daily draw in summer can fall meaningfully short in winter — shorter days, a lower sun angle, and more cloud cover in many regions all cut into realistic output. Depending on latitude and season, winter solar output from the same panel can drop by a third or more compared to peak summer conditions. If you’re camping through shoulder or winter seasons regularly, size your panel with that seasonal drop in mind rather than assuming your summer numbers carry over.
The Mistake I See Most Often
Buying the battery and the panel as two separate decisions, on two separate days, without ever checking whether the panel can actually replace what you’ll use daily. A bigger battery just means a longer runway before you’re stuck — it doesn’t mean your solar setup can actually keep pace. Size the panel to your daily draw, and the battery to your buffer for cloudy days or higher-than-expected usage.
Battery Expansion: Add a Second Unit or Buy Bigger?
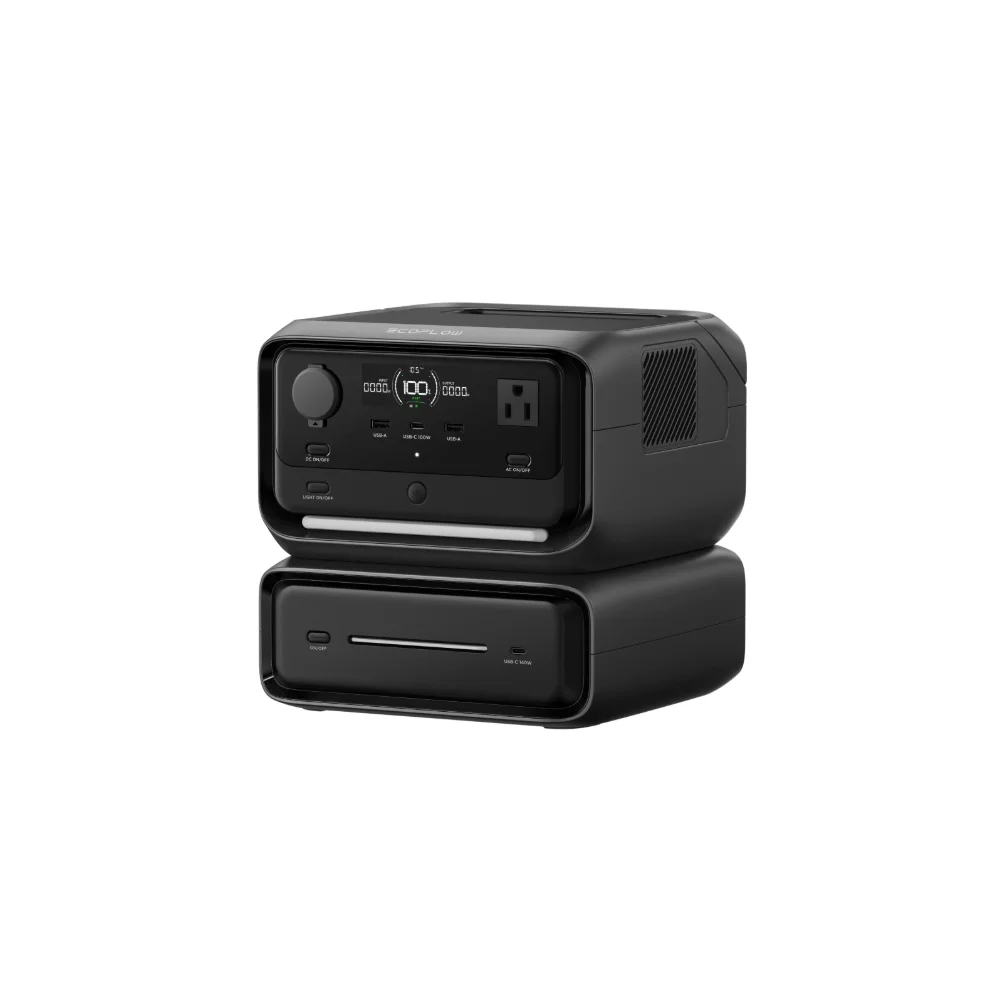
If your needs are growing, you generally have two paths: buy an expansion battery designed for your existing unit (if the manufacturer offers one), or run two separate stations independently. Expansion batteries are usually the cleaner option since they add capacity to the same system without doubling your inverter, ports, and control panel — but they only work if you’re staying within the same product ecosystem. Running two separate units gives you flexibility (splitting devices between them, for instance) but means managing two displays, two charge states, and generally more complexity at the campsite. My take: if you already own a unit with an official expansion option, that’s almost always the simpler upgrade path.
Testing Your Setup Before a Real Trip
Before relying on a new power station and panel combo on an actual trip, run it in the backyard for a day — verify the panel actually charges the station at a reasonable rate in your real conditions, confirm all your devices’ plugs and cables work with the unit’s ports, and get a feel for how fast your typical daily usage draws it down. This costs you nothing but an afternoon and catches compatibility surprises before they matter.
Our Recommendation
Pick your combo based on your actual daily draw, not just your total battery capacity. If a fridge is involved, size your panel to its daily usage specifically — that’s the detail most setups get wrong. And keep the panel actively angled toward the sun rather than treating it as a “set it and forget it” accessory.
Angling and Positioning Your Panels for Real Output
The difference between a flat-on-the-ground panel and one properly angled toward the sun can easily be 20-30% of your total output on a given day, which matters a lot when you’re already sizing your setup tightly. Adjusting panel angle every couple of hours to track the sun is a genuine habit worth building at camp, not a minor optimization — it’s free extra capacity for a few seconds of effort. Shade from trees, even partial and moving shade throughout the day, can cut output more than people expect, so scout your camp spot with panel placement in mind if solar recharge is central to your plan. Worth keeping the station itself out of direct sun too — heat cuts into charging efficiency and battery longevity, not just the panel side of the equation.
My take: most people set panels up once in the morning and forget them, leaving real output on the table all day. If you’re running tight on capacity, the fifteen seconds it takes to re-angle a panel every couple of hours is the easiest performance gain in your whole setup.
FAQ
Is one big solar panel better than two smaller ones?
Usually not for camping — two smaller panels are easier to angle individually and pack, and they add up to the same total wattage.
Do I need a bigger panel if I have a bigger battery?
Only if your daily usage is also bigger — panel sizing should match your daily draw, not just your total battery capacity.
Do I need a charge controller if my station has built-in solar input?
Generally no, as long as the panel matches the station’s expected voltage and connector type — the built-in MPPT controller handles the regulation, but mismatched third-party panels are where problems can crop up.
How much less solar output should I expect in winter?
Plan conservatively for a third or more reduction compared to peak summer output, depending on your latitude and typical cloud cover — it’s better to be pleasantly surprised than caught short.
Related Reading
- Best Portable Power Stations for Tent Camping in 2026
- How Cold Weather Affects Your Power Station’s Battery