
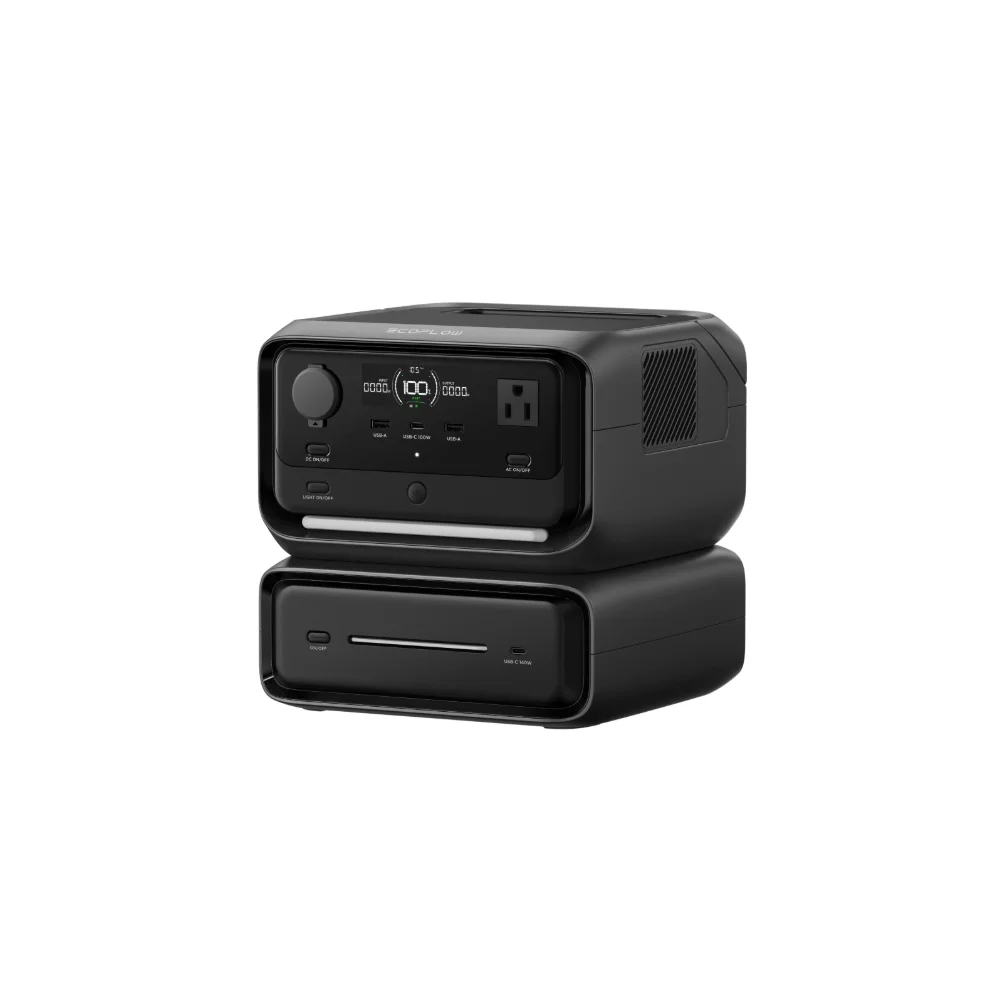
Best Power Stations for Overlanding and Off-Road Trips
Overlanding sits in an odd gap between camping and van life – you’re vehicle-based like a van build, but you’re also bouncing down trails that will shake anything not properly secured, and you’re often further from resupply than typical car camping. A power station overlanding setup needs to account for both.
This article may include affiliate links – if you buy through them we may earn a small commission at no extra cost to you, but our recommendations are based on our own independent research.
Durability Matters More Than in Regular Camping
Washboard roads and rough trails put real vibration stress on electronics that a smooth highway drive never would. My take: this is the one camping-adjacent category where I’d actively pay attention to build quality and mounting options, not just capacity and price. A unit that isn’t properly secured can shift, get damaged, or in worst cases have internal connections loosen over repeated rough-terrain trips.
Capacity: Plan for Longer Stretches Between Resupply
Overlanding trips often run longer between towns than typical camping, and fridges, off-road lighting, and recovery gear charging all add up. A 1,000-2,000Wh range with expansion capability is a reasonable starting point for solo or couple overlanding setups, scaling up for bigger rigs with more onboard electronics.
Real-World Vibration and Build Quality Considerations
Sustained washboard roads produce a different failure mode than a single hard bump – it’s cumulative fatigue on solder joints, connectors, and internal wiring over hours of repeated vibration, not a one-time impact. Based on conversations with long-time overlanders, the units that hold up best tend to have simpler internal layouts with fewer loose components and solid strain relief on cable connections, rather than the thinnest, lightest possible build. If you’re doing serious washboard or rock-crawling terrain regularly, it’s worth reading owner reviews specifically mentioning multi-year reliability on rough roads, not just initial unboxing impressions.
Dual Charging Is Worth Prioritizing
Solar recharge alone is riskier on overlanding trips than typical camping, since terrain (canyons, dense tree cover, extended cloudy stretches in mountain regions) can limit direct sun more unpredictably than an open campsite. Units that support vehicle/alternator charging alongside solar give you a real backup method rather than being fully dependent on weather and terrain cooperating.
Integrating With Your Vehicle’s Electrical System
Many current power stations accept a straightforward 12V car-charger input for basic top-up while driving, but if you want faster, more efficient charging from your alternator, a dedicated DC-DC charger is worth the investment – it manages voltage properly and protects your vehicle’s starter battery from being drawn down. My take: don’t just plug into a cigarette lighter socket and assume you’re getting a meaningful charge rate; check your station’s actual DC input specs and consider a proper DC-DC setup if vehicle charging is going to be your primary backup method rather than an occasional top-up.
Budget Tiers: What You Actually Get
Entry-level units in this category typically get you solid capacity and basic solar/vehicle charging without the ruggedized extras. Mid-tier units add better build quality, faster charging speeds, and often app monitoring. Top-tier units bring the largest expandable capacity, the most robust construction, and multiple simultaneous charging inputs (solar plus vehicle plus grid, all at once) for genuinely fast recharge during short stops. My take: for overlanding specifically, the mid-tier is usually the sweet spot — you’re paying for real durability improvements without the premium that top-tier brand names and maximum expandability command, which most solo or couple setups never fully use anyway.
Fridge and Freezer Considerations for Longer Trips
Overlanding trips often run a 12V fridge-freezer combo rather than a simple cooler, given the longer stretches between resupply. These units draw similarly to standalone camping fridges (40-60W cycling) but running continuously across a multi-week trip adds up — budgeting 400-600Wh a day for fridge alone on longer trips is a reasonable starting point, on top of lighting, device charging, and any recovery gear or off-road lighting you’re running.
Our Recommendation
For overlanding, prioritize build durability and dual charging methods (solar plus vehicle) over squeezing out the absolute maximum capacity per dollar. A 1,000-2,000Wh expandable unit, properly secured and charged from both solar and your vehicle, handles the realistic demands of extended off-road trips better than a bigger but less flexible setup.
Mounting and Securing It Properly in Your Rig
A power station sliding around your cargo area during rough terrain isn’t just annoying, it’s a real way to damage internal components over time, or worse, turn into a projectile during a hard stop. A dedicated non-slip mat plus a cargo strap or ratchet strap system anchored to existing tie-down points is a simple, cheap setup that solves this — I wouldn’t rely on friction alone, even in a relatively flat cargo area, once you’re on genuinely uneven trails. Some overlanders build a simple plywood platform with cutouts sized to the unit’s footprint, which adds a layer of vibration dampening beyond just strapping it down.
My take: this is one of the cheapest upgrades relative to how much protection it adds — a $20-30 strap setup is nothing next to the cost of replacing a power station damaged by being tossed around for a season of trips. Don’t skip it just because your first few trips went fine without one.
A couple of related details: keep the unit away from direct engine heat if it ends up mounted near mechanical systems, and if you’re shopping specifically for vehicle use, look for a model with a built-in handle or real mounting points rather than just a flat-bottomed camping design.
Dust and Water Ingress on Remote Trails
Overlanding trips expose gear to fine dust and the occasional water crossing in ways typical camping doesn’t, so an IP-rated port cover or a dedicated storage case matters more here than for a backyard or car-camping unit. Most portable power stations aren’t fully sealed against dust ingress at the port level even if the housing itself is solid, so a simple silicone port plug set is worth carrying if you’re doing genuinely remote, dusty routes for days at a time.
My take: don’t assume a rugged-looking exterior means the ports are sealed too — check the specific IP rating claimed for the ports themselves, not just the case, before trusting a unit on a dusty multi-day route.
FAQ
Do I need a ruggedized power station for overlanding?
Not necessarily a specialized “rugged” product line, but securing the unit properly and choosing a build with solid internal construction matters more here than for typical car camping.
Is solar enough for overlanding, or do I need vehicle charging too?
Solar alone is riskier on overlanding trips due to variable terrain and tree cover – vehicle/alternator charging as a backup is worth prioritizing.
Can I wire a power station directly into my vehicle’s electrical system?
Many units accept basic 12V input via a car charger cable, but for efficient alternator charging without straining your starter battery, a dedicated DC-DC charger is the better long-term setup.
What’s the biggest mistake overlanders make with power stations?
Treating vibration resistance as an afterthought – a unit that works fine on a driveway test can develop real issues after months of sustained washboard roads if it isn’t properly secured or built for that kind of cumulative stress.
Related Reading
- Camping Power Setup: Power Station + Solar Panel Combos That Work
- Best Lightweight Power Stations for Backpacking and Hiking